

If you’ve thought about soap making at home, you’ve come to the right place. Today, we are going to share advice on how to craft handmade soap, teach you the basic building blocks for creating your own soap making recipes and inform you of its fantastic benefits.
Thankfully, learning how to make your soap at home is a practical and fairly low-level skill to learn. Homemade soap is a great alternative to store-bought soaps that are full of chemicals (more on that later). It’s also a great hobby for those looking to express their creativity as the process is quite fun and is easy to share with the family.
Let’s begin with the different methods of making your homemade soap and the steps required in each process for creating your soap recipes. There are four different processes, but two are the most common:
- The melt and pour process
- The cold process
- The hot process
- The rebatching process
The melt and pour process
Items needed:
- A double boiler or microwave.
- A heat-resistant bowl.
- Whisks, measuring spoons, and other such tools.
- Fragrance, additives, and food coloring (if desired).
- A mold.
Simply put, making soap via this method is easy and convenient for those not wanting to get into the more complex process of saponification, which is the chemical reaction that occurs between the used fats or oils and the lye. The base of the soap has already been through this process, which means you will not need to purchase and handle the lye.
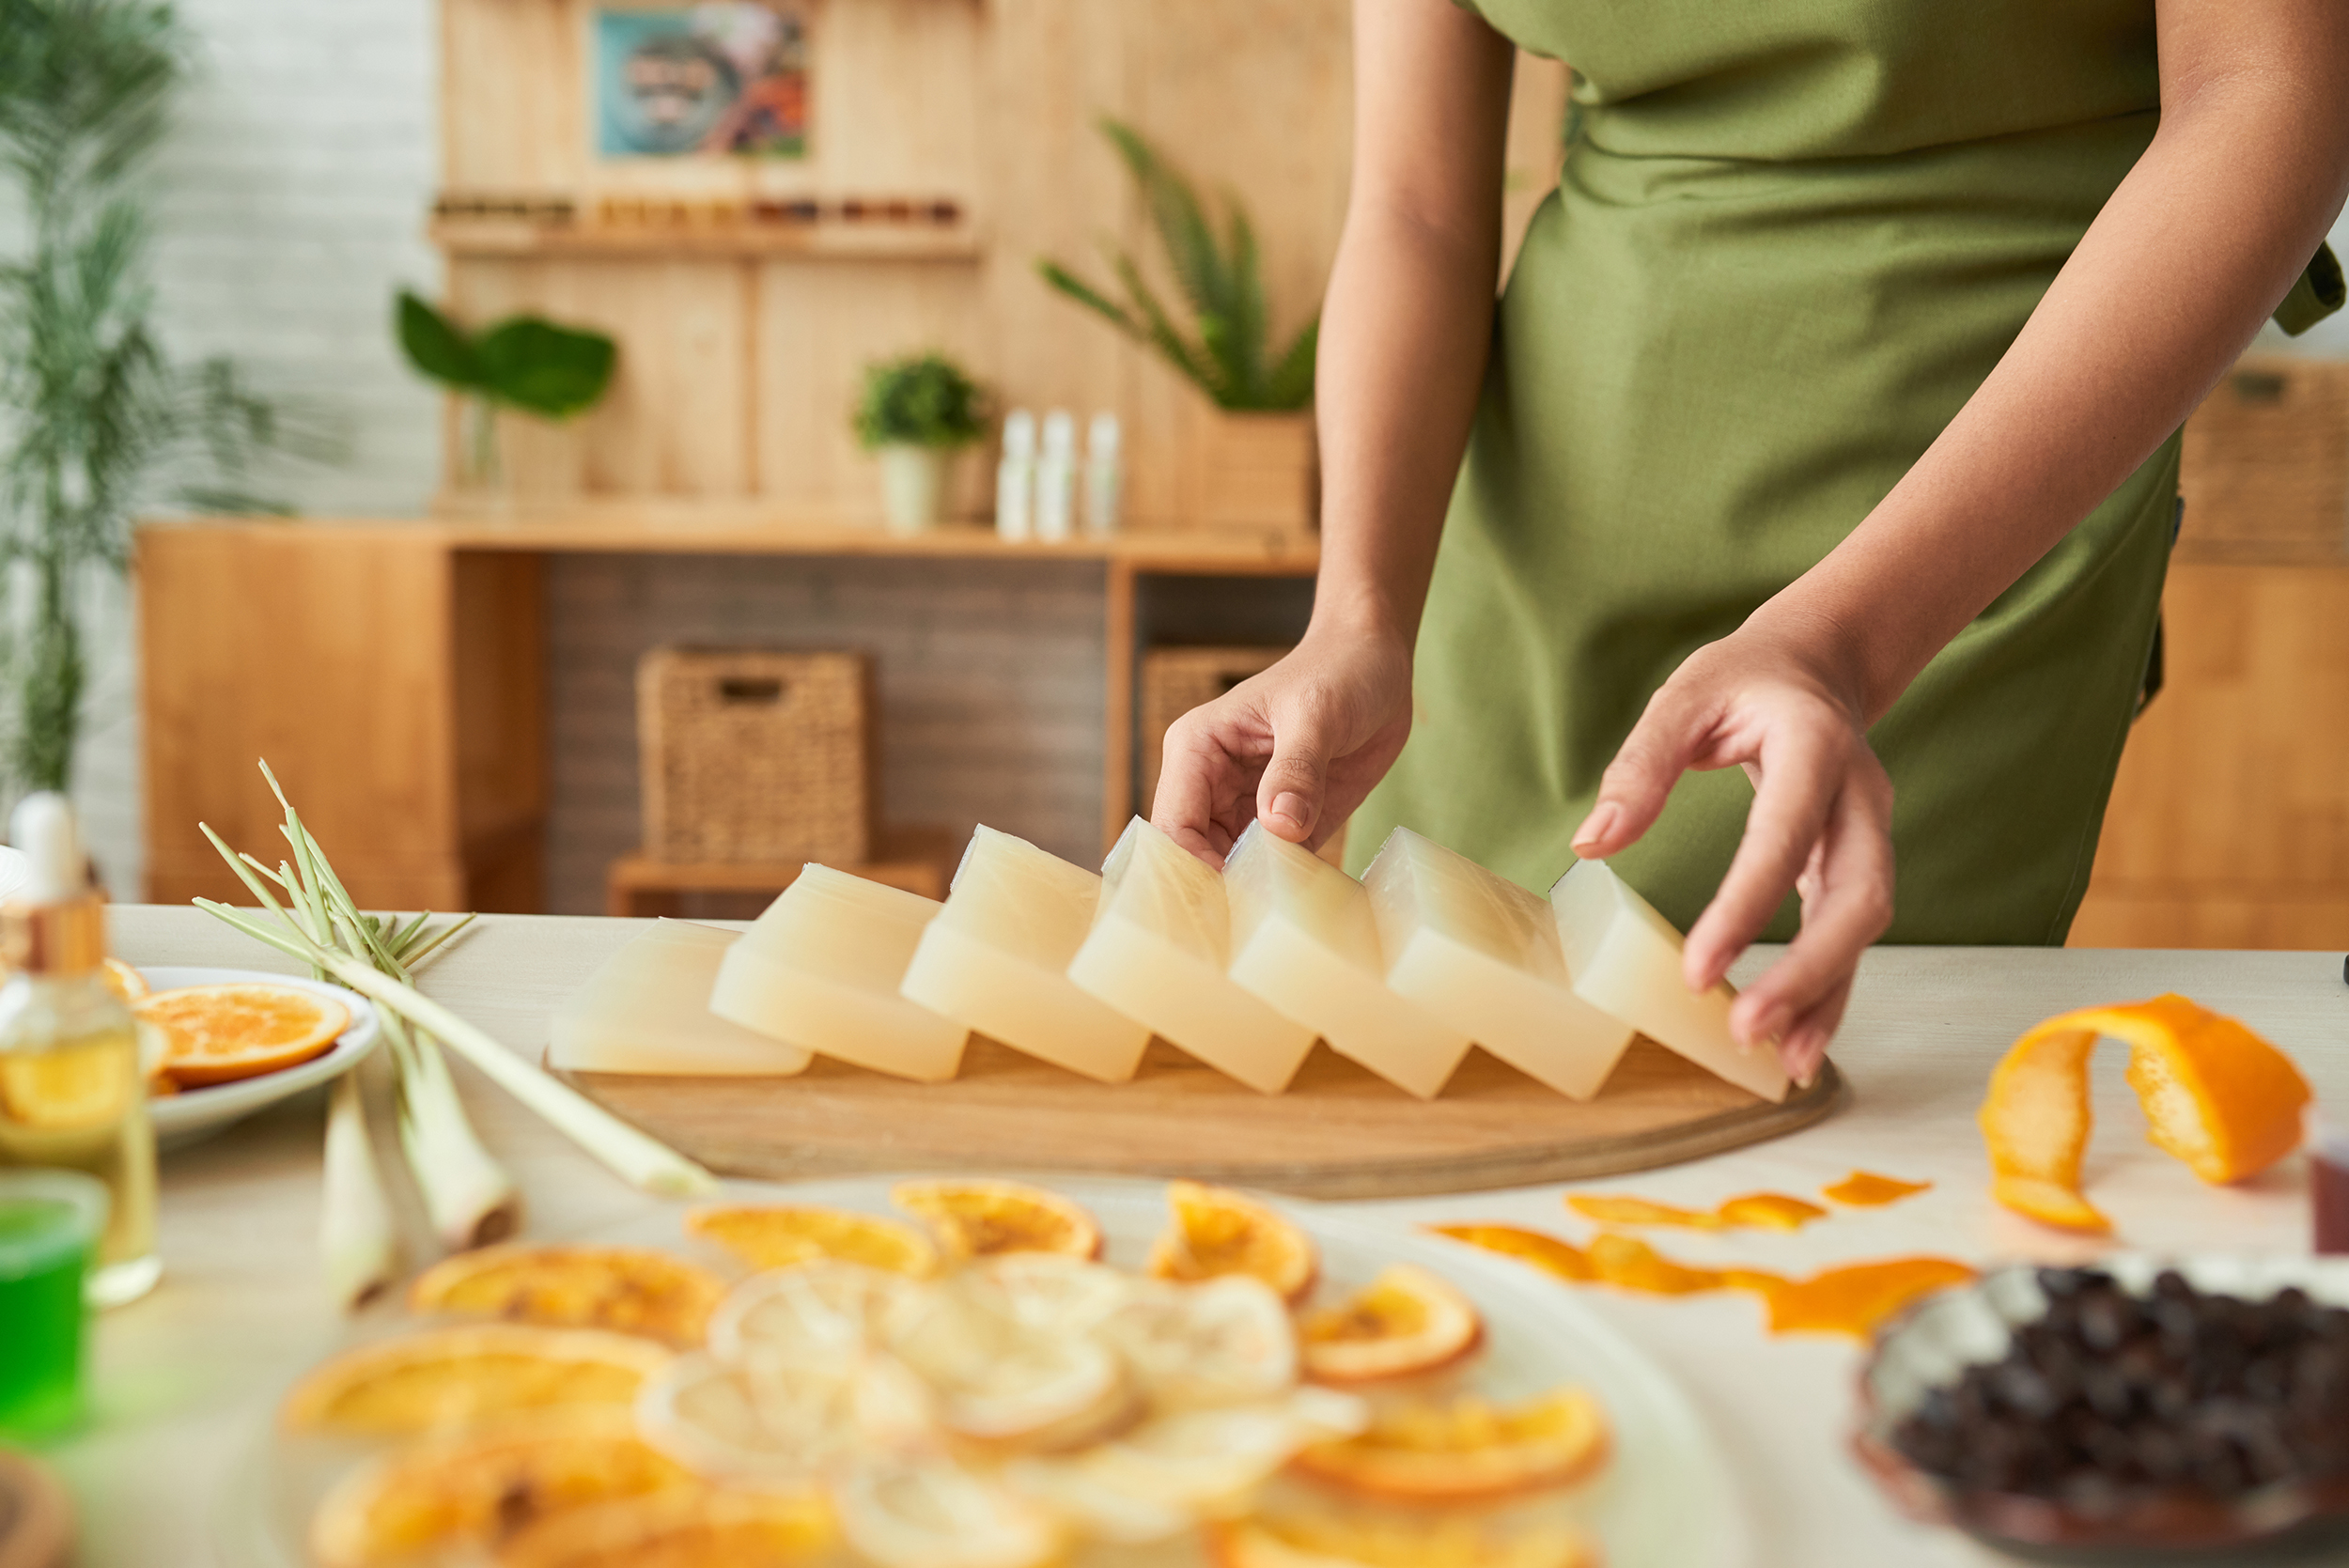
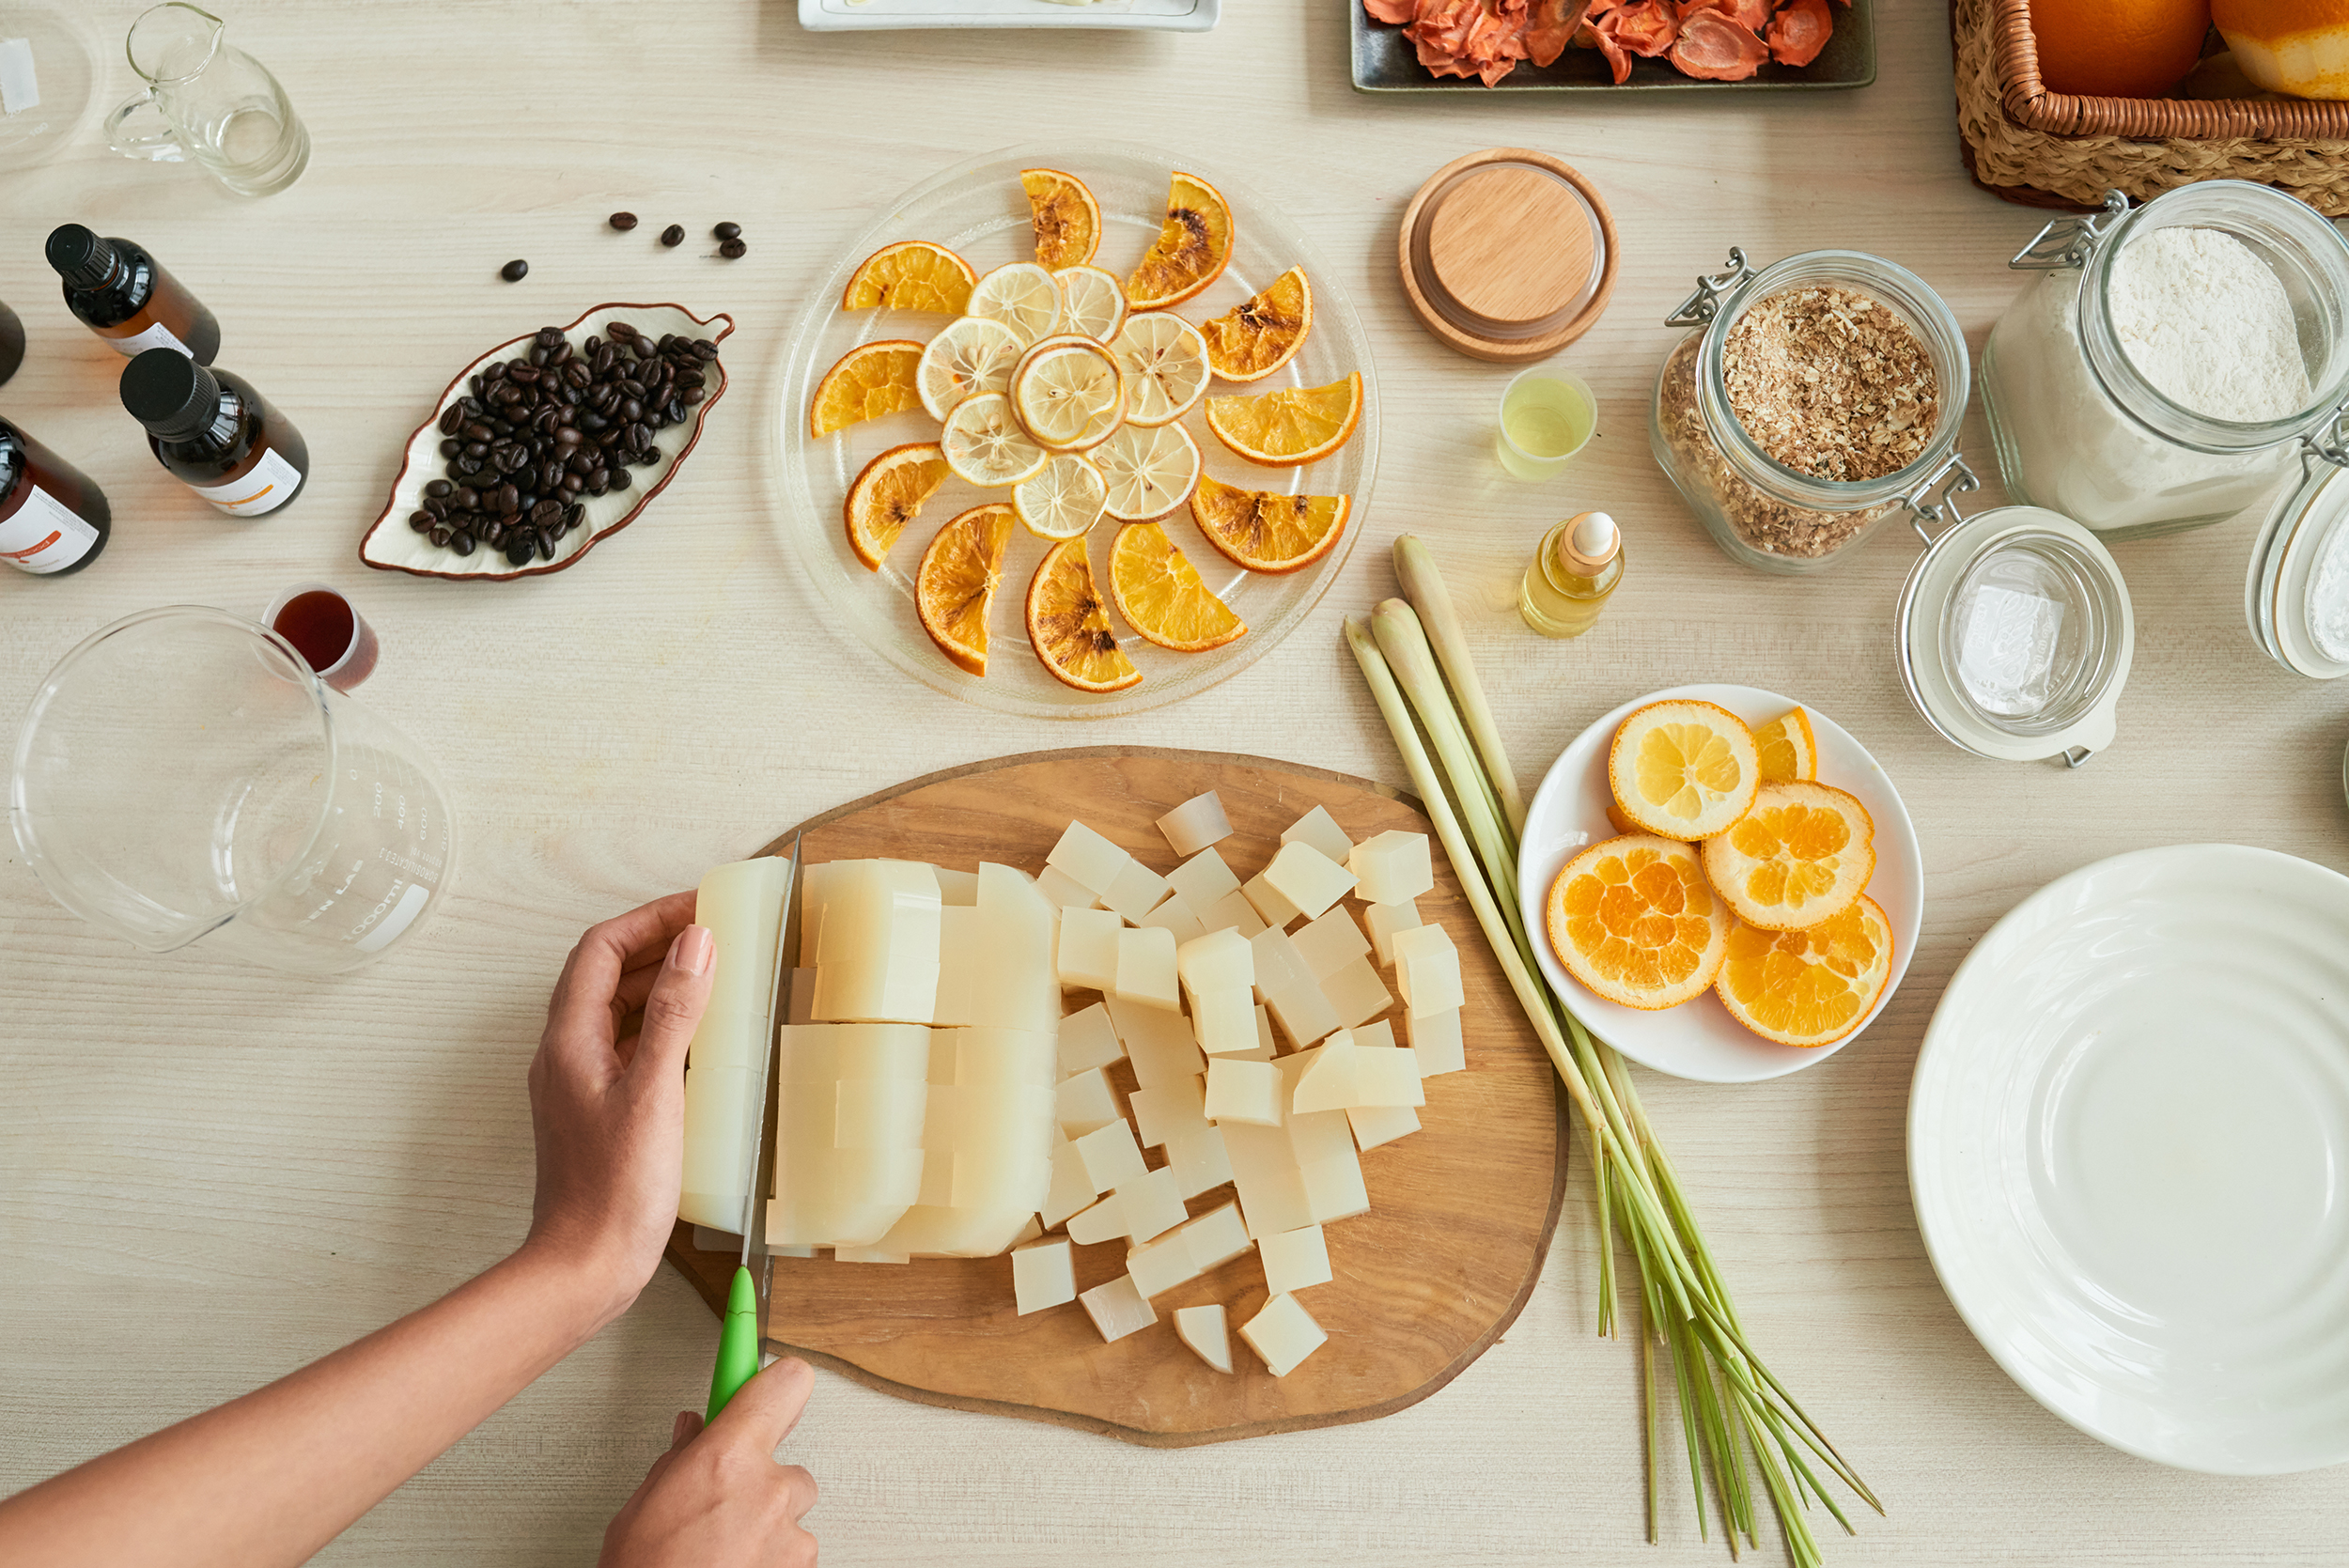
The melt and pour process of soap making at home is done by firstly purchasing pre-made blocks of unscented and uncolored soap base. This is usually available at most soap suppliers and craft stores. The next step is to melt the soap base – either via a boiler or microwave. Once the soap base is melted the fragrance, additives and color can be added before pouring that mixture into the mold of choice.
The final step of this DIY hand soap is simply waiting for it to cool down and harden. Then it’s ready for use! Beginners tend to choose the melt and pour process as it is inexpensive to purchase the soap base and whatever ingredients you choose to include, as well as not having to handle lye.
However, ingredients aren’t always natural which means the quality of the soap may not be the best and your creativity will be limited in terms of those ingredients.
The cold process
Items needed:
- Vegetable oils or animal fats.
- Lye-water.
- Soap pot.
- Essential oils or fragrances (if desired).
- Synthetic or natural color (if desired).
- Soap molds.
- Safety equipment.
The cold process is the second most common method of making your homemade soap – but it’s more complicated than the melt and pour method as it takes significantly more time.
The first step of the cold process is to heat the fats or oils in the soap pout until they reach approximately 38 degrees Celsius (100 degrees Fahrenheit). The next step is to carefully add the lye-water into the mixture and continue to blend the soap until it thickens to a state called “trace.” After it reaches this point, the fragrance, colors, and additives can be added before pouring it into the soap mold.
This kind of homemade soap takes roughly 24 hours to harden but requires in between 4-6 weeks for it to fully cure – a far longer process than the melt and pour method. The primary benefit of this method is that the soap is completely made from scratch, meaning you know exactly what has been included in the soap base and can customize it at every step of the process. This also means cold process soap gives you greater creativity and personalization.
However, more tools are required that require cleaning after use – meaning a bigger investment of time in the creation process, as well as a bigger overhead cost. Another important aspect to consider is that you have to work carefully with lye. This is because lye can cause severe chemical burns to the skin and can even damage the eyes in dry or wet states.
This is why equipment such as safety gloves, goggles, long-sleeved shirts, and aprons are recommended when making cold process soap. Another downside is that you cannot share this activity with your children and are advised to make sure that your pets aren’t around when making this style of homemade soap.
The hot process
A less popular method of making your handmade soap, the hot process is a variation of the cold process. The hot process simply trades the soap pot for a slow cooker or oven. However, the same amount of care and safety must be given, as well as making sure that the slow cooker or oven used is completely clean and free of other previous ingredients or chemicals used in cooking or baking. This is because it can react with the lye-water and can cause unwanted aesthetic results.
Our recommendation? If you have the money to invest in one of the more complex setups, we recommend purchasing a soap pot rather than using a slow cooker or oven. It makes clean-up easier and the adding of lye-water safer.
The rebatching process
The rebatching process isn’t necessarily a standalone process for making your homemade soap. It is more a technique for using the homemade soap that didn’t turn out good.
This method is simple. Grind up and re-blend (following either the melt and pour or cold process) batches of unused soap. Once it has been melted, feel free to add additional additives, fragrances, and colors. However, be careful not to burn or overcook the soap as it can cause it to harden into a darker color (often brown).
Why should I learn how to make homemade soap?
Store-bought soaps, while they are good value for money, are worse for your skin than homemade soaps. This is because glycerin, created in the saponification process, is typically extracted from store-bought products. Glycerin is highly sought-after and has significant monetary value in the cosmetics and skincare market.
Other chemicals are used in place of glycerin, meaning you’ll be buying a soap that’s cheaper but is more likely to contain chemicals that can irritate and disrupt your skin’s natural balance. The worse thing of all? Most of the chemicals introduced into store-bought soaps go directly to your liver so that your body can eliminate them from your body.
Glycerin is truly all that is needed to cleanse your skin without disrupting its PH levels. It’s also natural and unobtrusive to your organs. Learning how to make homemade soap is an easy skill that anyone can learn and there are other benefits too!
- You know exactly what you are putting into your skin.
- You can choose natural, cruelty-free ingredients.
- You can choose to create your favorite scents at far lower costs than high-end brands.
- You support local stores and businesses by choosing to buy soap making supplies.
- You learn a skill that can potentially become a side-project or business.
- You can create unique items that can be the perfect gift for birthdays, Christmas, and other celebrations!

Give making handmade soap a try
Whether it’s doing it alone or sharing this activity with the family, making your soap is truly a fun and rewarding experience akin to creating your cards and cooking your food. If you’ve been looking for a practical creative outlet, you can’t go wrong by trying to make homemade soap.